
Maintaining correct bike tyre pressure is one of the simplest yet most ignored aspects of motorcycle care. Many riders only check tyre pressure during servicing, but Indian road conditions — potholes, speed breakers, and long traffic stops — make regular checks extremely important.
Incorrect tyre pressure affects mileage, handling, braking, and tyre life. The good news is that you don’t need a mechanic or expensive tools. With a simple routine, you can maintain proper tyre pressure at home and improve both safety and performance.
Why Correct Tyre Pressure Matters
Tyres are the only contact point between your bike and the road. Even a small pressure difference can change how your motorcycle behaves.
Maintaining correct tyre pressure helps you:
- Improve fuel efficiency
- Extend tyre life
- Maintain proper grip on wet and dry roads
- Reduce chances of punctures
- Achieve smoother braking and handling
Ignoring tyre pressure can lead to uneven wear and unexpected accidents.
Ideal Tyre Pressure for Indian Bikes
Every bike has manufacturer-recommended tyre pressure, usually mentioned:
- In the owner’s manual
- On the swingarm sticker
- Near the fuel tank
- Inside the side panel
General reference ranges:
| Bike Type | Front Tyre | Rear Tyre |
|---|---|---|
| 100–150cc Commuter | 25–28 PSI | 28–32 PSI |
| 150–250cc Bikes | 28–32 PSI | 32–36 PSI |
| Pillion Ride | +2 PSI | +2–3 PSI |
Always follow the manufacturer’s number over general charts.
How Often Should You Check Tyre Pressure?
For Indian riding conditions:
- Daily commuters: Every 7–10 days
- Highway riders: Before every long ride
- Monsoon season: Every 5–7 days
- After puncture repair: Immediately
Temperature changes and road heat can alter pressure faster than expected.
Tools You Can Use at Home
You don’t need a garage setup. These tools are enough:
- Portable tyre inflator (electric or manual)
- Digital tyre pressure gauge
- Foot pump (budget option)
- Air compressor at petrol pumps (free option)
A small portable inflator is useful for emergencies and long rides.
Step-by-Step: How to Check Tyre Pressure at Home
Step 1: Park on Level Ground
Place the bike on side stand or center stand on a flat surface.
Step 2: Remove Valve Cap
Unscrew the small valve cap from the tyre. Keep it safe.
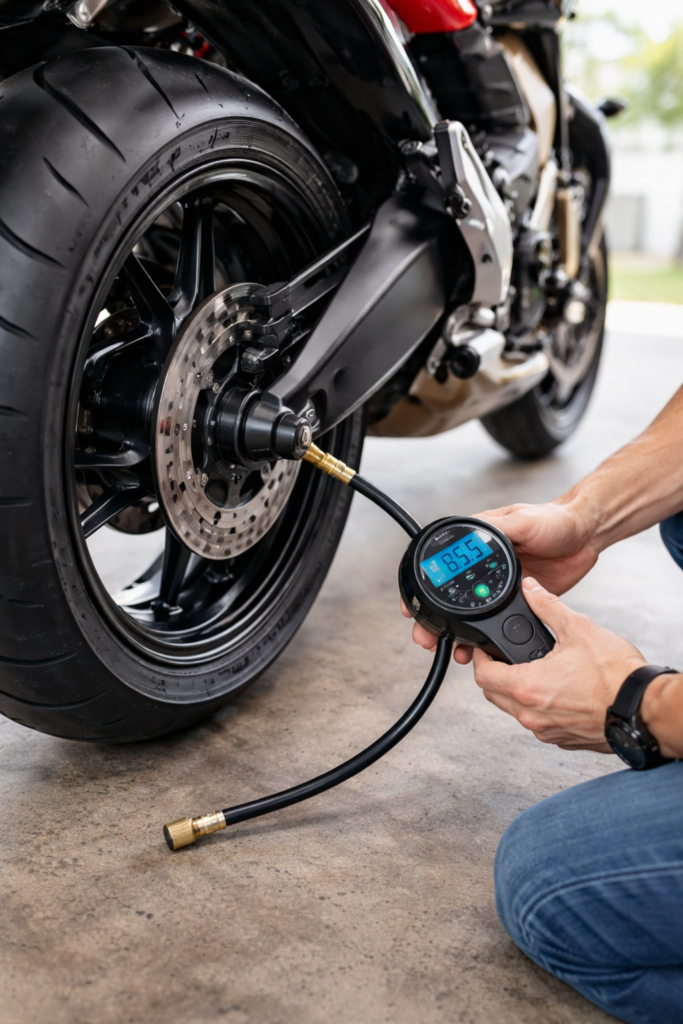
Step 3: Use Pressure Gauge
Press the gauge firmly onto the valve.
Read the number shown.
Step 4: Compare With Recommended PSI
Check your bike’s recommended pressure and compare.
Step 5: Inflate or Release Air
- If low → add air
- If high → release air gently using the valve pin
Step 6: Recheck
Always measure again after adjusting.
Step 7: Replace Valve Cap
Do not leave it open — dust can enter.
Common Tyre Pressure Mistakes Riders Make
- Checking pressure only during servicing
- Ignoring pillion load adjustments
- Over-inflating to “improve mileage”
- Using visual judgement instead of gauge
- Forgetting rear tyre checks
Even experienced riders often skip regular checks.
Signs Your Tyre Pressure Is Incorrect
Low Tyre Pressure
- Bike feels heavy while turning
- Reduced mileage
- Excessive tyre heat
- Sidewall cracks over time
High Tyre Pressure
- Hard or bumpy ride
- Reduced road grip
- Centre tyre wear
- Increased braking distance
Best Time of Day to Check Tyre Pressure
Always check when tyres are cold — ideally in the morning before riding.
Checking after long rides gives false readings because heat increases internal pressure.
Should You Buy a Portable Tyre Inflator?
If you:
- Ride daily
- Travel highways
- Tour long distances
- Face frequent punctures
A portable inflator saves time and prevents emergencies.
It is one of the most practical bike accessories you can own.
Final Thoughts
Checking tyre pressure takes less than two minutes but has a huge impact on safety, mileage, and tyre life. In Indian road conditions, small habits like this prevent bigger problems later.
Make tyre pressure checks a routine — just like fuel checks — and your motorcycle will perform better every day.